
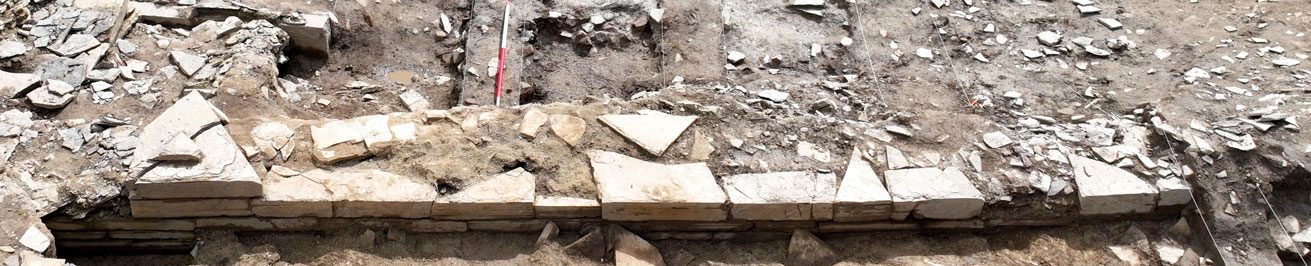
3d model of Trench Z and its 4.5-metre-wide wall section
There was much head-scratching at the weekend when it became clear that this model slipped through the diary cracks during a busy excavation season!
Although it has since appeared on the new page revisiting our thoughts that the Ness complex may have been enclosed, we’re posting it again to keep our archives correct and to ensure it is listed on the page containing other 3d models.
Trench Z was opened this year to revisit Structure Two – a wall section with orthostatic partitions, previously seen in Trench I way back in 2005.
Intended to gather more dating material and a better understanding of that structure, it soon became clear that Structure Two built on the top of an earlier, huge wall, over four metres wide. With a wall core made up of huge rounded boulders, it was identical in size and construction to the northern boundary wall – aka the “Great Wall of Brodgar” – in Trench J.


